How to make your flyer
No design experience needed. Follow the steps below and you'll end up with a file you can hand to the print shop.
Step by step
- 1
Pick a template
- On the home page, choose what you're making (new menu, sale, closing notice…) and the size (A4 flyer, Instagram feed…), then click a template you like.
- Making it for customers who speak another language? Set ‘Customer language’ first. Changing it later resets any text you've edited.
- Want to design from scratch? Press ‘Start from blank’.
- 2
Add your shop details
- In the editor, open ‘Store & AI settings’ at the top and fill in your store name, type of business, address, phone and Instagram.
- Blanks like {SHOP} {PHONE} in the template fill themselves in, and the same details carry over to everything you make next.
- 3
Edit text
- Double-click any text to edit it in place. Select text to change its font, size and colour on the right.
- On a phone, tap the text and open ‘Style’ at the bottom.
- The ‘Copy’ tab has ready-made lines for every kind of shop and occasion. Click one to put it into the selected text.
- 4
Add photos and a QR code
- Select the photo to replace, then press ‘Upload my photo’ in the ‘Photo’ tab. Yours drops into the same spot and shape. Phone photos are fine.
- Put your map listing, booking page, chat channel or Instagram link in the ‘QR’ tab and the code goes into the template's QR spot at the same size.
- 5
Check, then download
- On a computer, ‘Before you print’ on the right flags text that's too small, too faint or too close to the edge, and blanks you haven't filled. Click a line to jump to it.
- In ‘Download’, pick PDF for a print shop and PNG for the shop printer or social media.
Sending it to a print shop
- Download a PDF. It comes out at actual size and 300 DPI for print.
- Only tick ‘Add 3mm bleed’ if the print shop asks for it.
- For A5 POP and Postcard POP, ‘Several per A4 sheet’ lets you print a few at once on the shop printer.
- For anything that stands on a counter, use 200–250 gsm coated card; under bright lights, go for matt lamination.
- Always scan the QR code with your phone once before printing.
Making name tags & show cards
The little cards in your showcase and on your shelves answer customers' questions before they have to ask. Here's what to put on them and where to put them.
Five things to put on the card
72 layers of French butter: crisp outside, soft inside
- Badge — A short tag like BEST, NEW or Signature that catches the eye first
- Product name — A bold name you can read from a distance. If many customers speak another language, add a smaller name in theirs.
- Price — Big, clear numbers so nobody has to guess
- A line or two of description — Words that let people imagine it: taste, texture, aroma, ingredients
- Extra info & QR — Allergens, origin, and a QR code that links to more details
Show card examples by type of shop
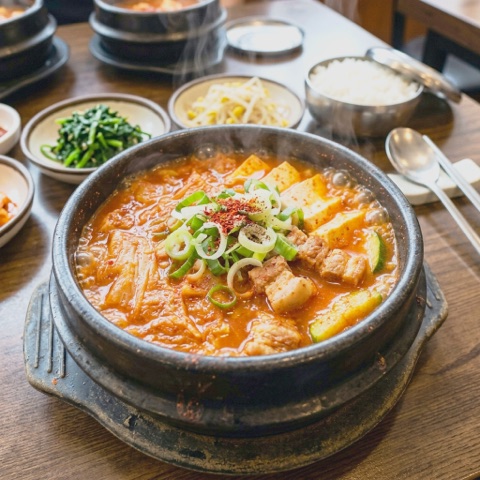
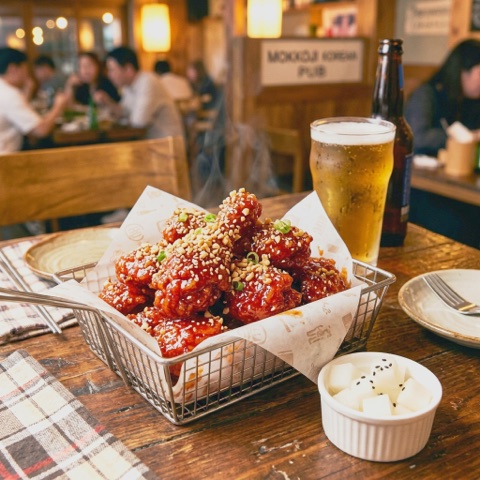
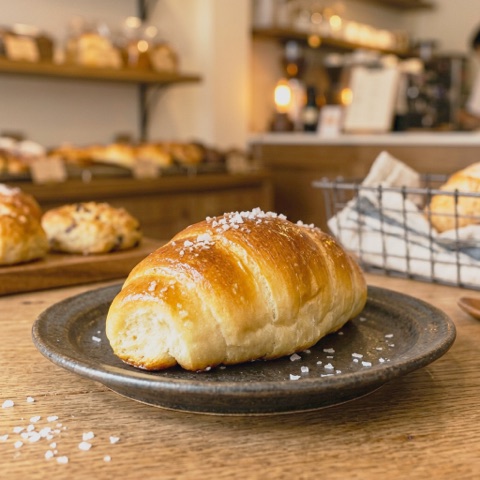
Pair a menu photo with one mouth-watering line and customers find it easier to choose.

Bakery & dessert cases
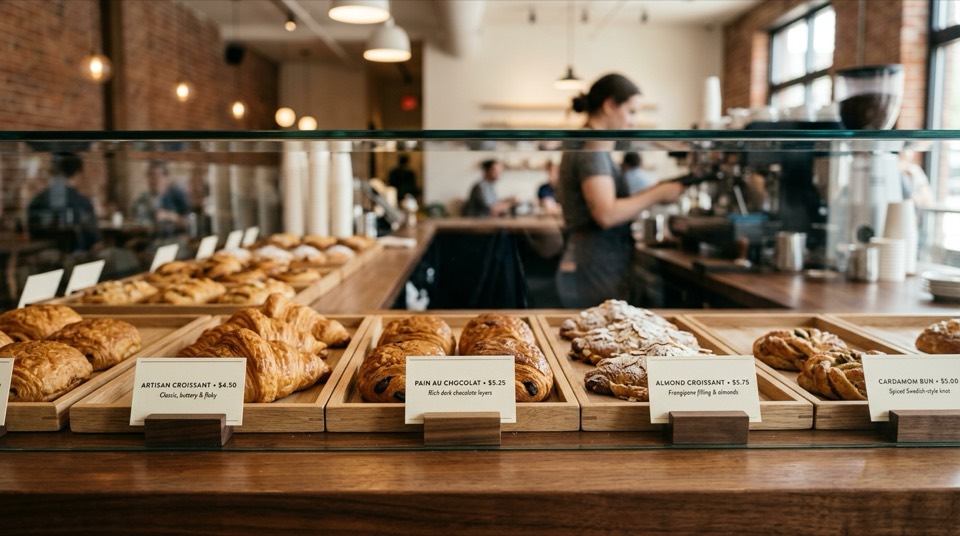
- Put each card in the same spot at the front of its tray. Lining them up across every tray looks much tidier.
- Customers look down at these, so stand the cards in a backward-leaning L-shaped acrylic holder or on a wooden block.
- Keep them low so they don't hide the food.
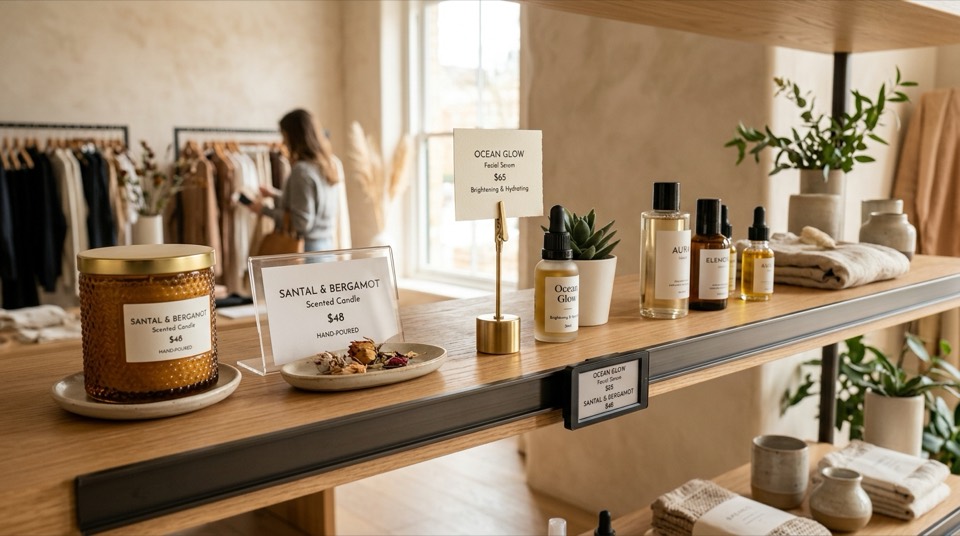
Shelves & gift displays
- A shelf-edge rail or magnetic holder keeps cards in one neat row.
- Raise your top picks a little on a clip stand so they stand out.
- A small stand by the till gets people adding one more small thing, like drip bags or cookies.
Making and printing
- Size
- Postcard POP (100×148mm) suits showcases and shelves. The templates on the name tag page open at this size too.
- Printing
- When you download a PDF, turn on ‘Several per A4 sheet’ to get four to a sheet with cross-shaped cut lines. Print on the shop printer and cut.
Common questions
Does it cost anything? Do I need an account?
It's all free, and you can start right away without signing up.
Where are my shop details stored?
Only in the browser you're using; nothing is sent to a server. The one exception is AI copy: what you type goes to the AI company you chose.
How do I reopen a design I was working on?
Every change is saved automatically. Press ‘My work’ at the top of the home page to see all the designs you have been making, then pick one to keep editing.
Can I carry on from another computer or phone?
Designs stay in the browser you made them in. To move one to another device, use ‘Save as file’ in ‘My work’, then open that file with ‘Open from file’ on the other device.
How do I post it on Instagram?
Pick ‘Instagram feed’, ‘Social square’ or ‘Stories & Reels’ as the size and download a PNG. For an ‘Instagram carousel’, make the cover, menu and directions one at a time and post them in order.
Can I make it for customers who speak another language?
Switch ‘Customer language’ to Korean, Japanese or Traditional Chinese and the template's text is redrawn in that language. Templates for one country's holidays only come in that country's language.
How do I use AI copy?
Add an AI company's API key in ‘Store & AI settings’ and you can use ‘Write with AI’ in the ‘Copy’ tab. Google Gemini hands out keys for free.
Can I make one on my phone?
Yes. Add copy, photos and QR codes from the tabs at the bottom, and tap text to edit it under ‘Style’. Choose the size and customer language on the home page when you pick a template.